Objective:
In continuation with the previous article we will discuss the steps for scheduling a batch in this article.
Scheduling a Batch:
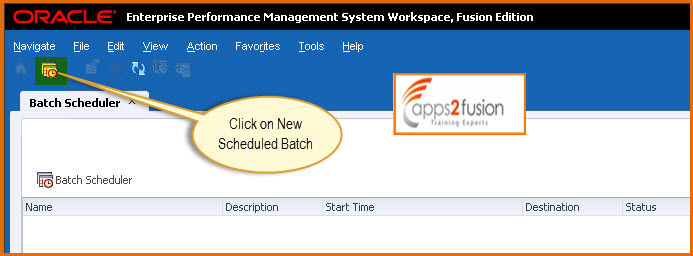
Navigation: Navigate>Schedule>Batch Scheduler
In the window that opens, click on the New Scheduled Batch icon that is highlighted in yellow.
This opens the Schedule Batch window. Enter a name and description for your scheduled batch run and click on Next.
Select the batch that we want to schedule and click on Next.
Click OK when asked to provide the login credentials. When the window refreshes, we are presented with the Scheduled Batch Point of View region where we can select the parameters for our scheduled report. We can select to run the report for a specific accounting period, segment value, or any other dimension value. For example, if we want to create a snapshot report for the month January 2013 to reflect our balances as of the end of the month, select January 2013 for the accounting period.
Make the selections and click on Next.
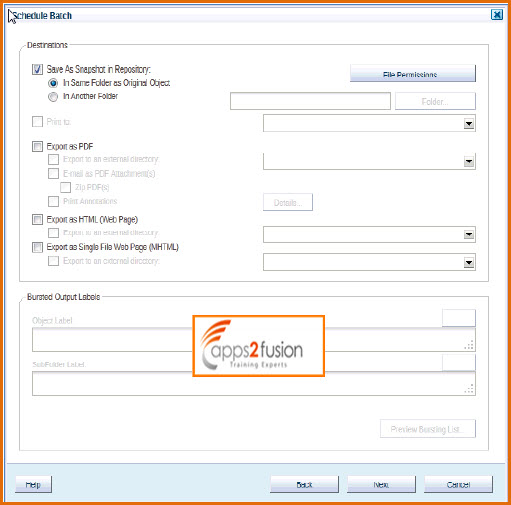
Select the output options. Click Next.
Select the notification options, if any. Click the Finish button.
If we scheduled the batch to run immediately, then we can navigate to the folder when we have saved our batch to view the output of the scheduled process.


