
Introduction
In this article, we would quickly illustrate how to show warning message on Absence Recording Page. This is applicable to Release 12 version.
Pre-requisite:
Creating Custom Warning Message
We would need to create a Custom Warning Message using the Manage Messages Task.
Navigation: Setup and Maintenance -> Manage Messages
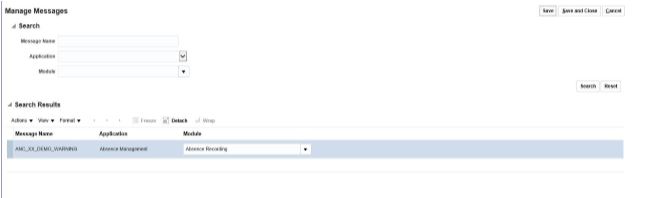
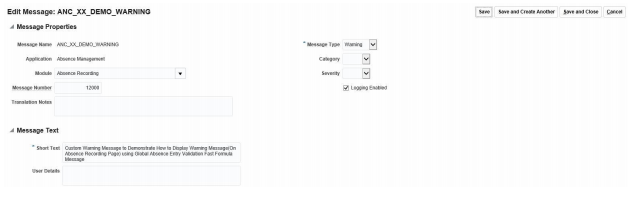
Please populate the following details while creating Warning Message
|
Attribute Name |
Attribute Value |
|
Message Name |
ANC_XX_DEMO_WARNING |
|
Application |
Absence Management |
|
Module |
Absence Recording |
|
Message Number |
12000 |
|
Translation Notes |
|
|
Message Text |
Custom Warning Message to Demonstrate How to Display Warning Message(On Absence Recording Page) using Global Absence Entry Validation Fast Formula Message |
|
Message Type |
Warning |
|
Category |
|
|
Severity |
|
|
Logging Enabled |
Checked |
And, the screen would look as below:
Creating a Global Absence Entry Validation Fast Formula
Next we need to create a Global Absence Entry Validation Fast Formula. In my case, I already had an existing Fast Formula and I added the following code snippet:
|
Formula Text |
|
IF (2>1) THEN ( VALID = 'N' ERROR_CODE = 'W' ERROR_MESSAGE = 'ANC_XX_DEMO_WARNING' /* Custom Warning Message to Demonstrate How to Display Warning Message(On Absence Recording Page) using Global Absence Entry Validation Fast Formula Message */ ) RETURN VALID,ERROR_MESSAGE,ERROR_CODE |
*Note: I have used a 2>1 condition as I am using this example for illustration purpose where-in I want this piece of code to be executed every time. One may use a different IF condition as per business requirement.
Attaching Fast Formula to Absence Type
Once the Fast Formula is compiled we would need to attach this to an Absence Type . Pick this formula name from the Drop Down List which appears along side Validation Formula.
Once all the above steps are done we are ready to try to apply a Leave and once we try that (screen-shot below)
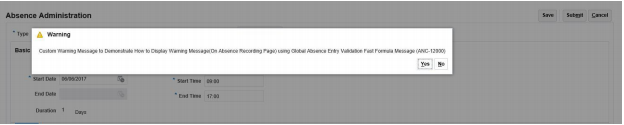
We could see that a Warning Message appears . Notice it gives the Option of ‘Yes’ and ‘No’ where-in Transaction gets saved/submitted ( depending on the Action Button which was acted upon by user) or the transaction gets cancelled when ‘No’ is pressed.


