
Introduction
One of the most common requirement faced whenever one tries to transfer data from One Application to another is getting the Flat File in desired format along with a desired File Name and extension.
While generating a file in desired format is not a challenge in Oracle HCM Cloud but getting, the appropriate file extension (specifically CSV) has been troubling consultant (including myself) for long.
It seems that at last I probably have managed to figure out a solution and thought to share the same with the greater audience. So without further delay let-us get started with the same.
In the interest of time we would assume that we already have a E-Text Based BIP Report available with us and would only concentrate on how to get a CSV File (both data as well as extension) from the same.
Pre-requisite
We would assume that we already have an E-Text Template Based BIP Report available in the Application. I would share some details of the same (like Sample Data File, Data Set ,E-Text Template , Report Layout along with Sample Output as it appears on the application) before we start with our actual demonstration.
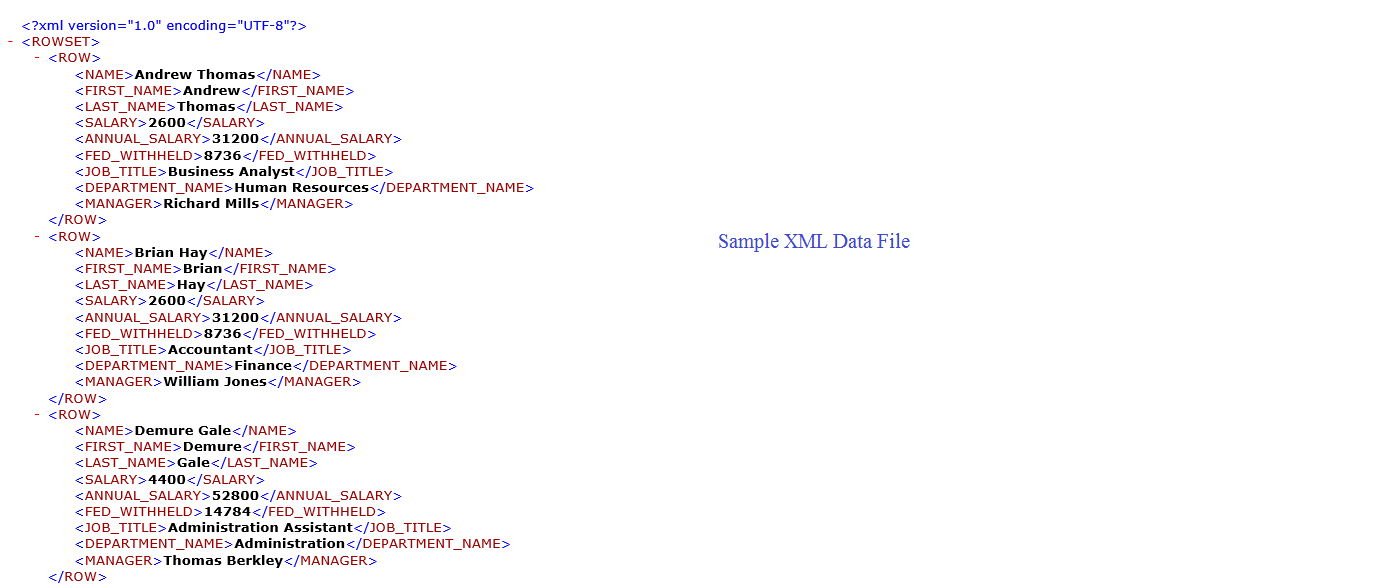
Sample Data File
We will use a XML File as the Data to be used in the Report. The XML file structure is as below:
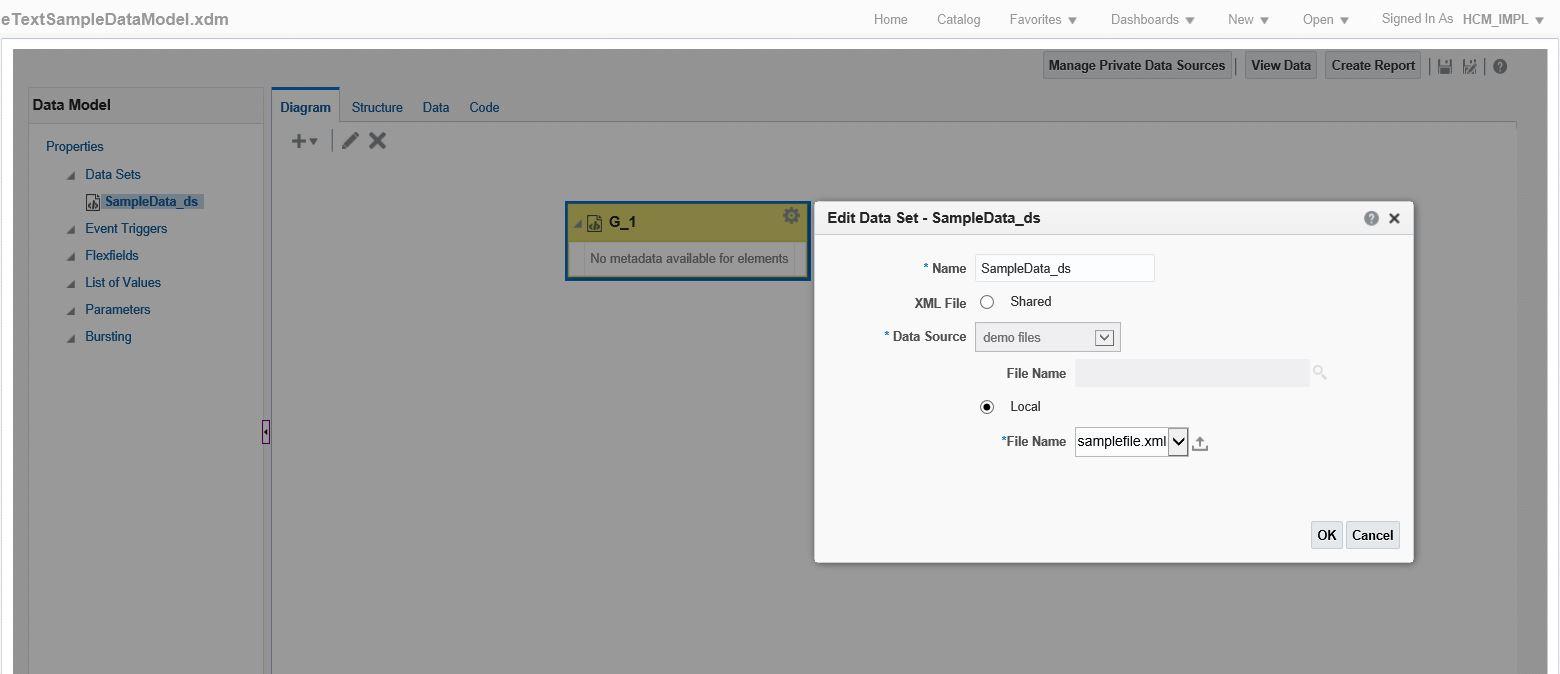
Data Set
We would use the XML File (shown in image above) and create a Data Set (as shown in screen-shot below):
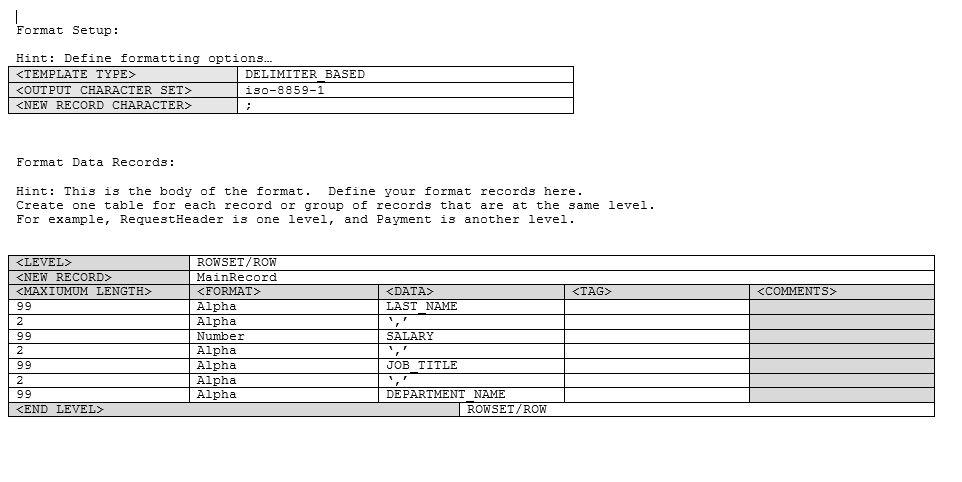
E-Text Template
The E-Text Template used is as below:
Layout
The Layout associated with the Report has the following properties:

Sample Output
The Sample Output is shown below:
Changes Required to Get Data in CSV File (.csv Extension)
Till now, we have seen that we can get CSV Data from the Report, but we are not only interested in the Data Format but also the file extension. For this we would have to make the following changes namely:
Upload RTF File
In order to ensure that any new changes made does not effects the existing data or report we would upload a new RTF File. Actually, we would download the already existing RTF File and reload the same with a new name. Post Upload the ‘Edit Layout’ Page should appear as:
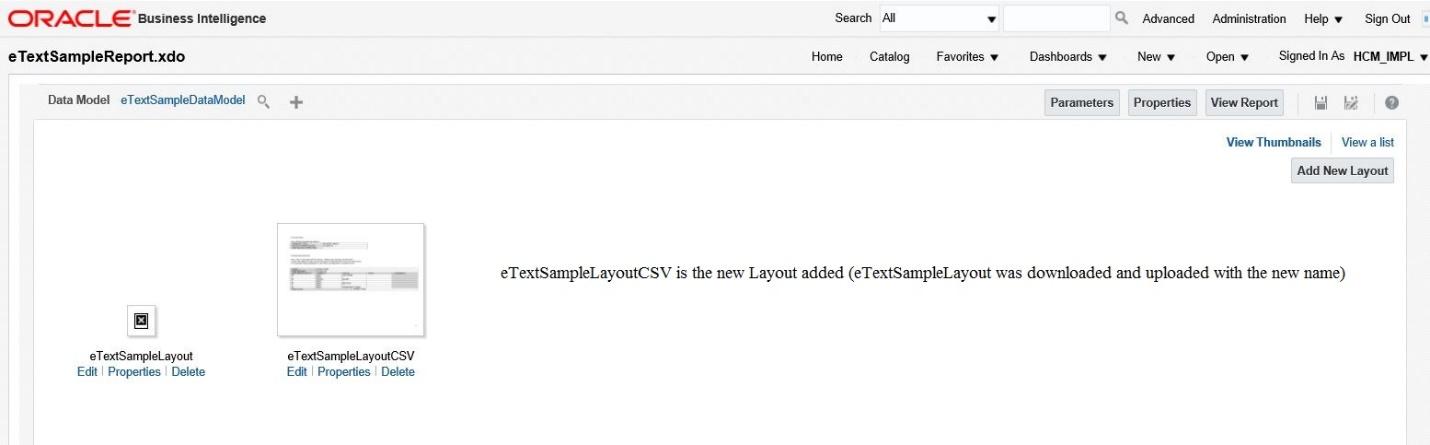
A quick look at the Layout tab post this addition would look as below:

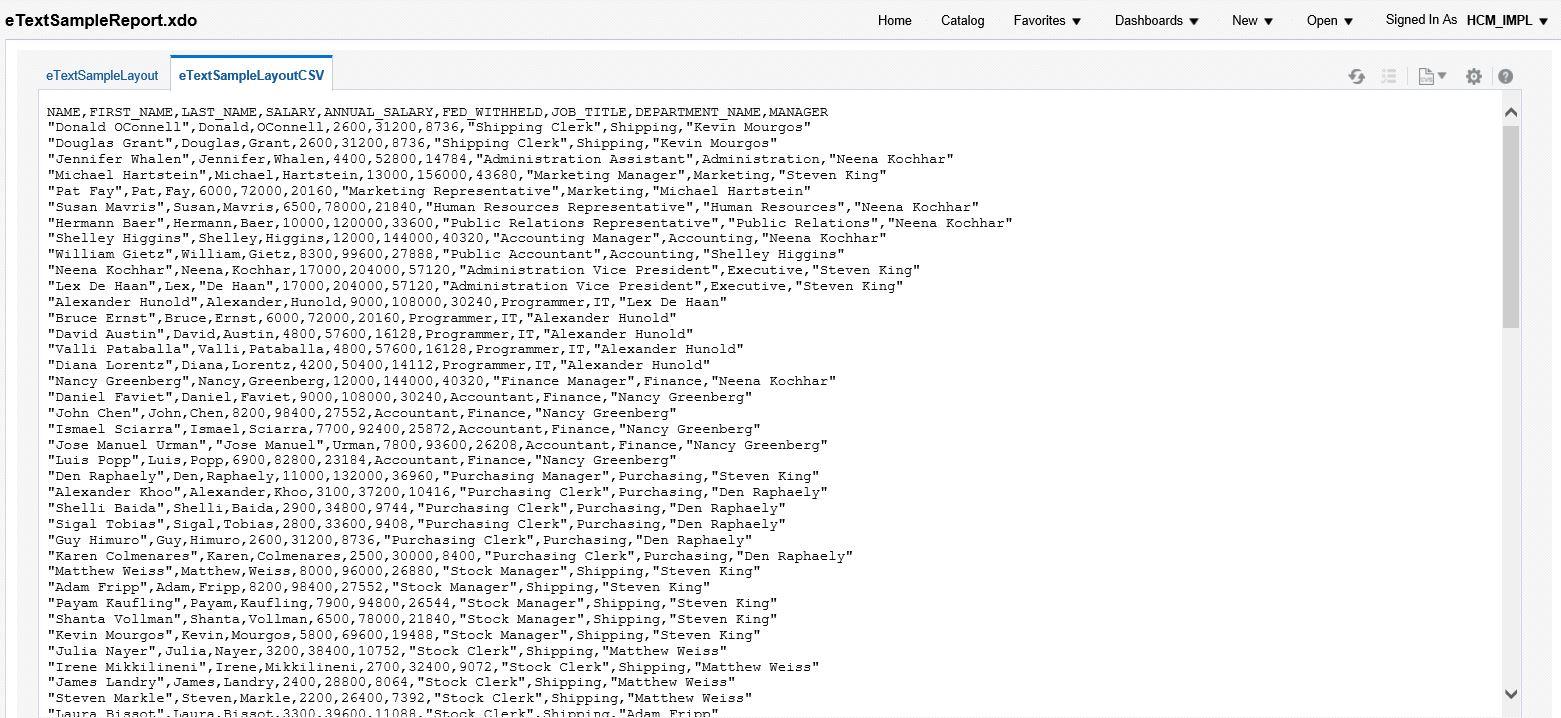
And the Report Output appears as:
Scheduling the Report
Once you schedule the report, you should be able to view the details under “Job History” and the screen would appear as below:

Verification
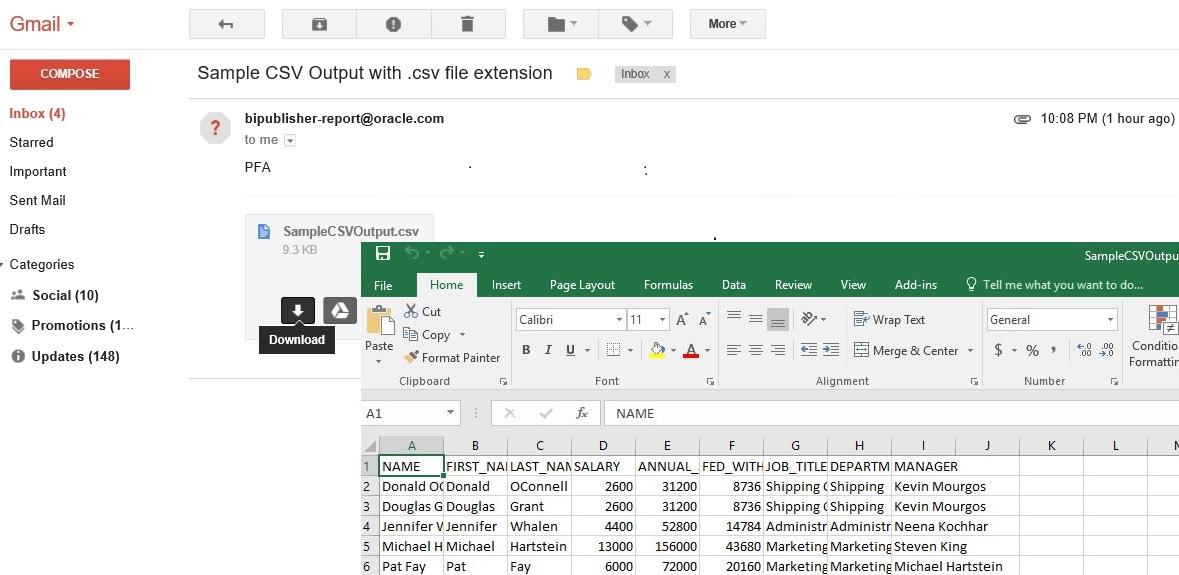
We should receive an email with the same subject line on the email box.


Comments
i.e., Last_Name,Salar y,Job Title,Departmen t Name (as per your example)
needs a lot more attention. I'll probbly be back again to read through more, thanks for the
information!
Also visit my webpage temp mail: https://guncelhaber009.blogspot.com/2022/05/temp-mail.html
really something that I think I would never understand.
It seems too complex and very broad for me. I am looking forward for your next post,
I'll try to get the hang of it!
RSS feed for comments to this post