
Objective: To show how to Load OIM User data through csv sheet.
Bulk Load Utility : Overview
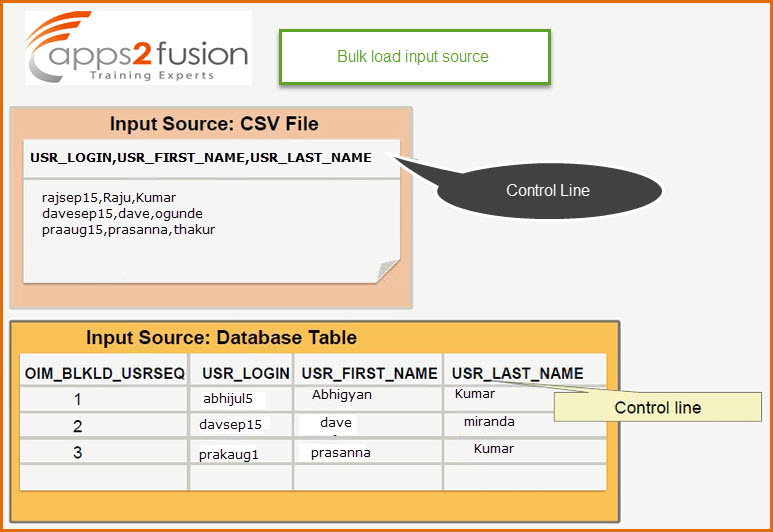
The bulk load utility is an automation process to load large amount of data into OIM. This reduces the downtime required to load the data and can be used immediately after OIM is installed or anytime later during the production life time of OIM. A CSV or database tables can be used as a source of data.
Every enterprise user must have acces to OIM. You can load users from resources using reconciliation . You can
also load the users from CSV(Comma Separated Values ) file . We have a bulk load utility available which can be
run to load users ,accounts , roles , role categories etc .
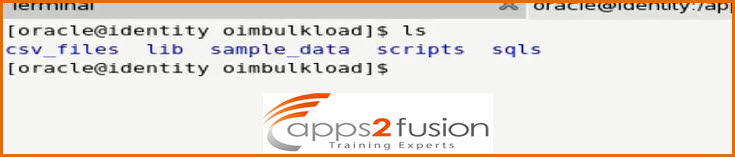
The structure of this utility is available in OIM_HOME folder where oim is installed . Scripts , files and database tables are available in /OIM_HOME/server/db/oim/oracle/Utilities/oimbulkupload folder . Following are description of the files that oimbulkupload folder contains.
1)scripts --> Contains bulk load scripts
2)csv_files --> Contains CSV files of data to be loaded. CSV files must be copied to the
folder csv_files
3)sqls --> Contains SQL files called by bulk load scripts
4)lib --> Contains the oimBulkLoad.jar file
5)sample_data --> Contains sample CSV files . It helps to verify how the CSV files should look like ,what should be the first line which represents some heading (column name ), which you must be aware of .
6)logs_YYYYMMHH_hhmi --> Contains a log directory for each transaction .
When you run this utility all users are created in a temporary table space not directly in OIM , loads the data
validates it , if it is a valid data then only it adds into Oracle Identity Manager repository .
The first line of the CSV file should be a Control Line that represents the column , which are
USR_LOGIN,USR_FIRST_NAME,USR_LAST_NAME etc. You must make sure that all the mandatory fields are
entered in CSV file . For example last name & first is mandatory , u can leave user login empty which is not mndatory field
. 
Bulk Load Database columns
Table (USR): User Data is available in USR table
Columns of USR table :
->USR_LOGIN(not required)
->USR_FIRST_NAME
->USR_LAST_NAME
Table(UD) : Account Data is available inUD_*table. (Example UD_OUD, UD_AD , UD_LINUX). For each resource
you will see a table is created .
Columns varies depeneding upon the resource.
Table(UGP) : Role Data is available in User Group table(UGP)
Columns for USR table :
->UGP_ROLENAME
->UGP_NAMESPACE(not required)
->UGP_LOGIN
->UGP_DESCRIPTION(not required)
-> UGP_NAME
->UGP_LOGIN
GPG table: It contains Role Hierarchy Data
Columns for this table :
-> UGP_NAME
->GPG_UGP_NAME
ROLE_CATEGORY table : It contains ROLE_CATEGORY Data
Columns for this table:
->ROLE_CATEGORY_NAME
->ROLE_CATEGORY_DESC(not required)
Configuring the Bulk Load Utility
-> Set JAVA_HOME to the base directory of JDK
-> Verify that JDK version is 1.6 or grwater
-> You must have write permission on the current directory .
Now let us create a sample csv file for bulk loading .
->Open the terminal and go to the oimbulkupload folder 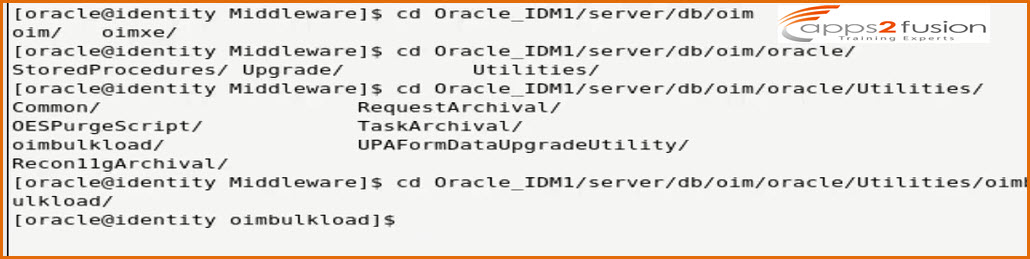
--> We have to go to the csv_files folder 
--> We will create one file using gedit command known apps2fusionUsers.csv
--> Enter the following data in the file 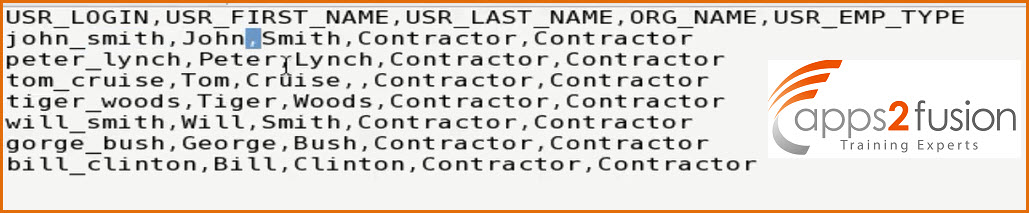
Note: If USR_LOGIN is blank .then there is automatic generation of User Login later by running Bulk Load Post Processing Task .User login can also be generated automatically from email. Also we have to make sure that organization Contractor which we have entered in the csv file is already created in OIM . So we will go to Oracle Identity Self Service console and search for the Contractor organization .
To search for organization go to menu Admisntration>Organizations 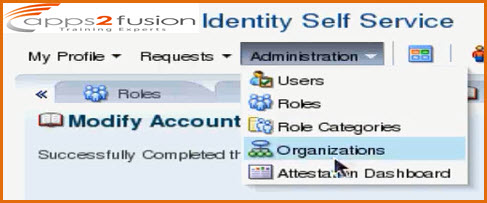
Enter Cont* in search text box and click on Search button .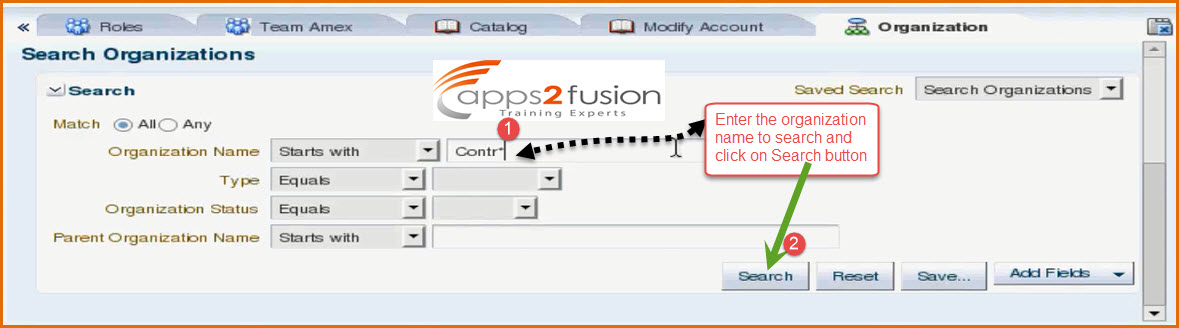
If you find that there is no organization with name Contractor then you will have to create one . 
To create new organization Click on Create 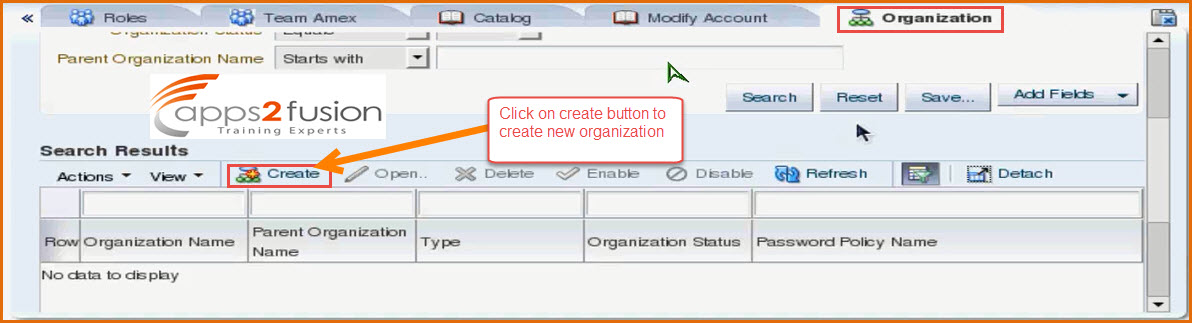
Enter the Organization Name as Conractor
Select Type as Department and Parent Organization as Top.
Finally Click on Save 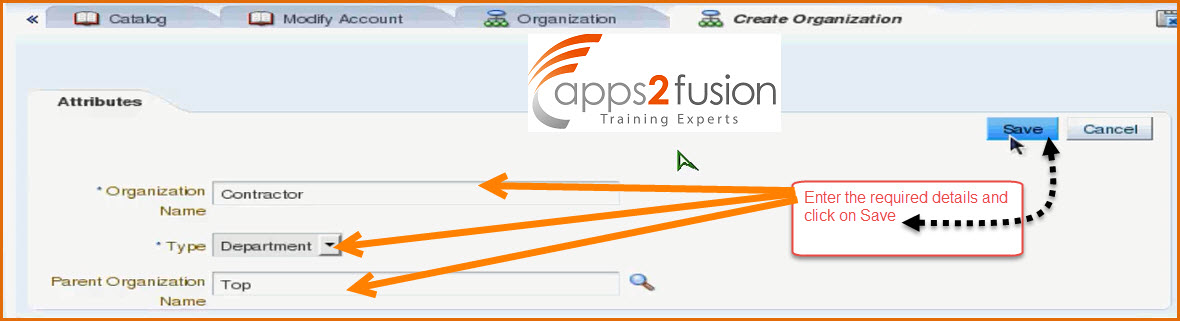
You can see that organization is successfully created . 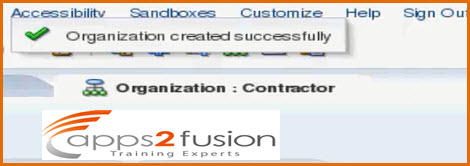
--> Our csv file is already created and the organization is also created now we will run the Bulk Upload utility by moving to scripts folder . 
-->Once trun the bulk load utility it will show you a Menu 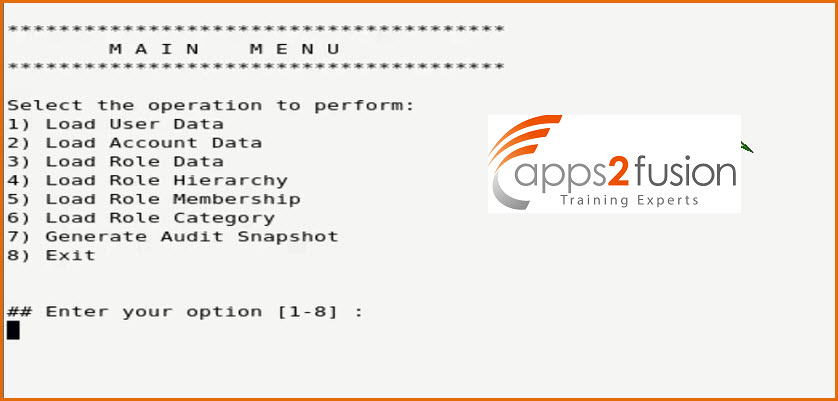
It will ask you that which data you want to load though utility . Since we are creating users we will enter option 1 
--> Then you will be ask to enter Database details . 
We will leave the ORACLE_HOME as it is and accept the default value . Seconf it will ask you enter the OIM database connection String , so we will enter following details :
localhost:1521/orcl
--> Enter OIM databse user name as DEV_OIM which is the schema we created for oim .
--> Enter the OIM database password .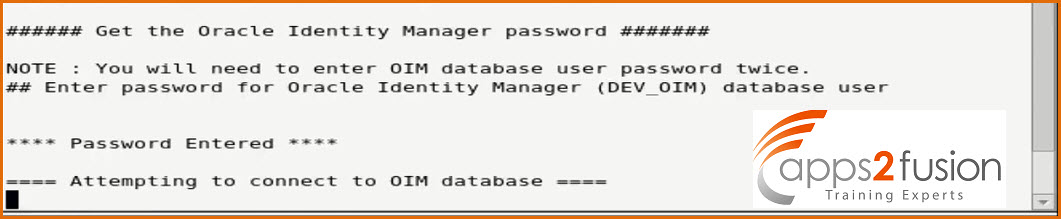
Once you enter the password it will try connecting to the database with entered username & password.
If the credentials are correct it will successfuly connect to the database . 
After connecting it compile the procedures and when Compilation is done it will again ask you to enter the password again 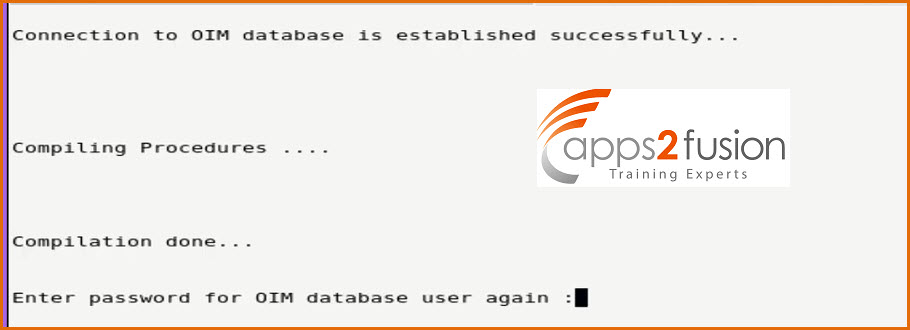
-> Once you enter the password it will ask you to select the inut method for bulk user creation in oim . 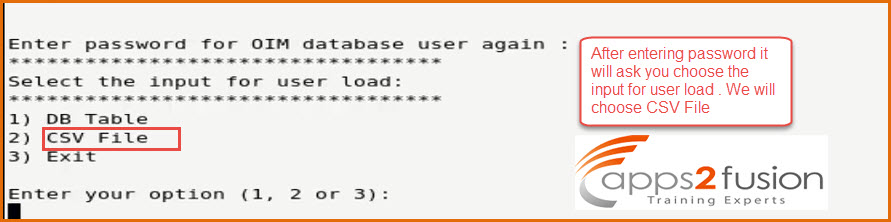
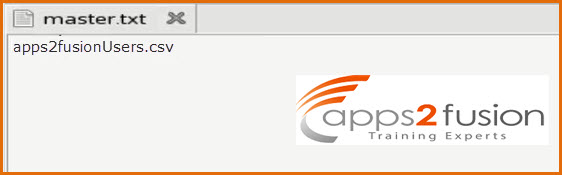
--> Before proceeding further open a new tab of terminal and create one more file inside csv_files folder named as master.txt and enter apps2fusionUser.csv into that file , save it & close . If master.csv you have aleady created then no need to do this step . The reason is we will create one master file and all the csv file names we will enter in it . 
--> We will come back to the terminal where we were entering the option for bulk user creation . We enter 2 .
After we enter the option it will ask you to enter the master file name . Our master file is master,txt so we will enter the same . 
--> Next , by default it will take the database DEV_OIM as default tablespace 
--> Then you need to enter the date format to laod the data . We will enter DD-MM-YYYY format 
--> It will take defult batch size whichh is already assigned i.e. 10000
--> Enter y to insert the log messages 
--> Then it will ask you to enter any USER LOGIN that was created from web console . We will enter admin . 
--> After entering the admin you will see that bulk user upload is completed in few seconds . 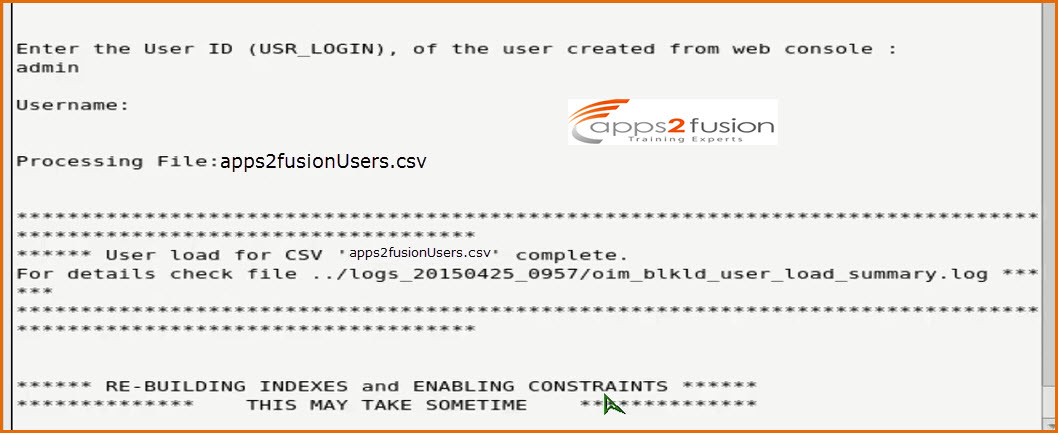
You will see that seven users are created .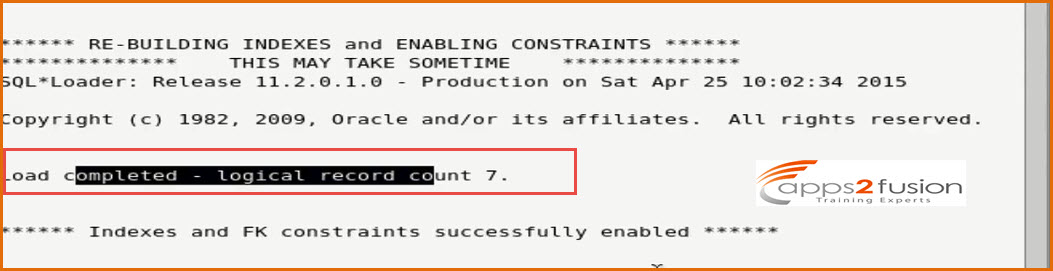
--> Now we can go ahead and check the users in OIM Self Service Console . To see we need to go under Administration>Users
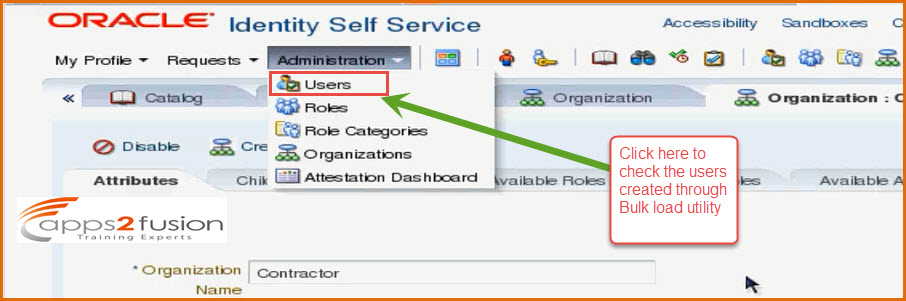
You will see that all the users mentoned in the csv file are available in OIM. (you need to search for the user logins you mentioned in the csv file .)

So this is how Bulk load utility works for user creation in OIM .


