
This tutorial deals with the Oracle Identity Manager and its role in identity management and identity administration. In this part, we discuss the Oracle Identity Self Service console.
Oracle Identity Self Service
Starting the OIM Server
After installing the Oracle Identity Manager, follow the steps below to start the OIM server:
-
Start the Oracle VM VirtualBox by clicking on the Start button (circled in the screenshot below). Click on the Switch button on the pop-up window.
-
Once the login screen gets loaded, enter your Username and Password to log in to the Oracle Virtual Machine.
-
Go to the Startup_Scripts folder on the Desktop and double-click the startOIM.sh file. Click on the Run in Terminal button (circled in the screenshot below).
The Terminal window will open up. The port number to which the OIM server is listening will also be shown on the screen. In case of HTTP, the port number will be <local host>:14000; while for HTTPS, the port number will be <local host>:14001. -
To start the admin server using commands:
-
Open the Oracle Identity Manager command window using the OIM icon (circled in the screenshot below) from the Oracle VM VirtualBox screen.
-
Go to the domain folder:
-
Start the SOA server: (meant for handling request approval workflows)
-
Then, start the OIM server:
-
-
Once the OIM server is started, view the Terminal window to verify that the server is running.

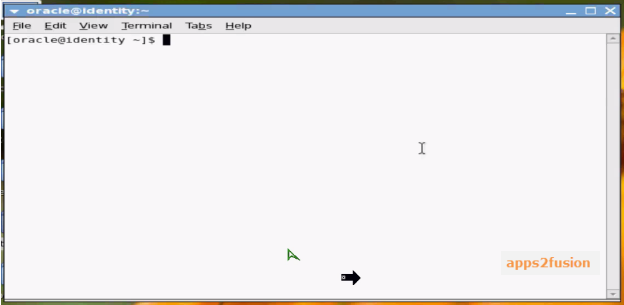
Fig. 1 - The Oracle Identity Manager command window

Fig. 2- The ‘Terminal’ window showing that the OIM server is running and listening to the port number
Logging into the Oracle Identity Self Service Console:
After starting the OIM server, follow the steps below to log in to the Oracle Identity Manager:
-
Open a browser and enter the following address to go to the Oracle Identity Self Service page:
http://identity.oracleads.com:14000/identity (or) http://<local host>:14000/identity -
On the Oracle Identity Self Service page, you can perform the following actions:
-
Log in using your User ID and Password. If you log in as an administrator, you will have all the privileges in the system, and can manage all the users.
-
Click on Forgot User Login? if you have forgotten your user ID. You will be asked to enter your e-mail and other details.
-
Click on Forgot Password? to reset your password if you have forgotten it.
-
Click on New User Registration to register a new user ID. Once you have filled in the details and submitted, your registration will then have to be approved by a manager before you are able to log in using your credentials.
-
Click on Track My Registration to track the status of your user registration. It will either be pending or approved, depending upon the manager’s approval.
-
After entering your administrator user ID and password, click on the Sign In button to log in to the Oracle Identity Self Service console.
-
On the Oracle Identity Self Service console’s home page, as an administrator, you can view the list of Pending Requests and Direct Reports from the respective lists shown.
Creating an Organisation
To create an organization in the Identity Management System, follow the steps below:
-
Click on Administration -> Organizations from the Administration menu on the Oracle Identity Self Service console, after logging in as an administrator.
-
Scroll down and click on the Create button (circled in the screenshot below).
-
Enter the name of the new organization.
-
Click on the magnifying glass icon (circled in the screenshot below) to search and select a parent organization for the new organization.
-
Click on the Save button. A pop-up message will be displayed upon creation of the organization, saying Organization created successfully.
-
To create a sub-organisation, you can either:
-
Click on the Create Sub-org button on top of the same Create Organization tab, or,
-
Click on the Create button (as detailed above) and choose the Department option from the dropdown for the Type field.
-
-
Enter the Parent Organization Name the same as the organization which the sub-organization is under.
-
Click on the Save button. You can create as many sub-organisations as needed in the same way in order to create the desired organizational hierarchy.

Fig. 3 - Creating an organisation

Fig. 4 - Entering the details of the new organization


