Oracle Database 11g R2 Installation Process:
In the last post we learned how to prepare the environment for the OIM 11g R2 PS2 installation.
In this post we will install Database 11g R2 for the OIM 11g R2 PS2.
1) First install Oracle database 11g R2 from Oracle website.
2) Unzip the file into a folder as "/u01/apps2fusion/installer".
3) Now open terminal and navigate to the unzipped folder.
Type command ./runInstaller.sh
It will open the window 'Select Install Type'
4) Select Advance Install as the option because we are going to do the installation as per the OIM requirement and we need to change the default value later.
Click on next button.
5) In the next page Edition of the software will be asked by the installer.
We will select "Enterprise Edition". One of the features of "Enterprise Edition" is partitioning. This feature is required by OIM (for archiving and purging of the UPA table) and this feature is only supported by "Enterprise Edition".
6)Click on Next.
7)Select the Oracle base path where you want to install the database.
In my case I have taken '/u01/app/oracle/db'.
Software location will be populated automatically once you provided 'Oracle base' value.
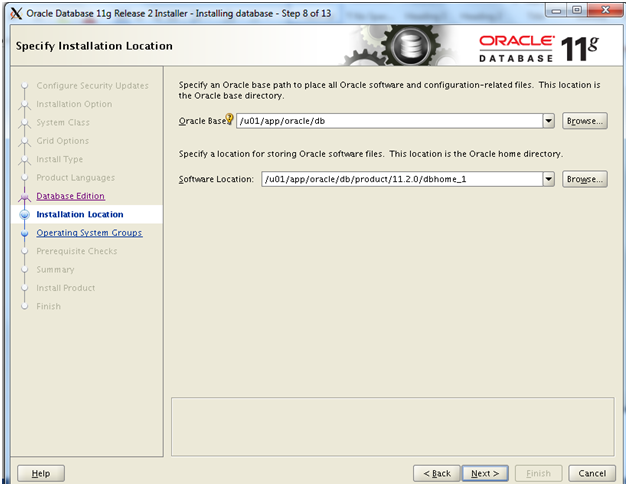
8)Click on next.
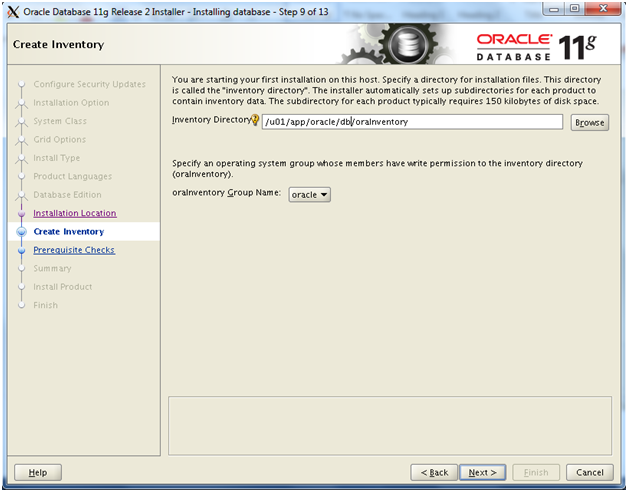
9)In this installer page you will see "Oracle Inventory" page where "Inventory Directory" will be populated as "Oracle Base/OraInventory" where "Oracle Base" is the location which you provided in last step.
If you want you can change the location but be sure that folder you are selecting has proper access to the "oracle" user.
For creating Oracle user click Here.
Select Orainventory Group name as Oracle